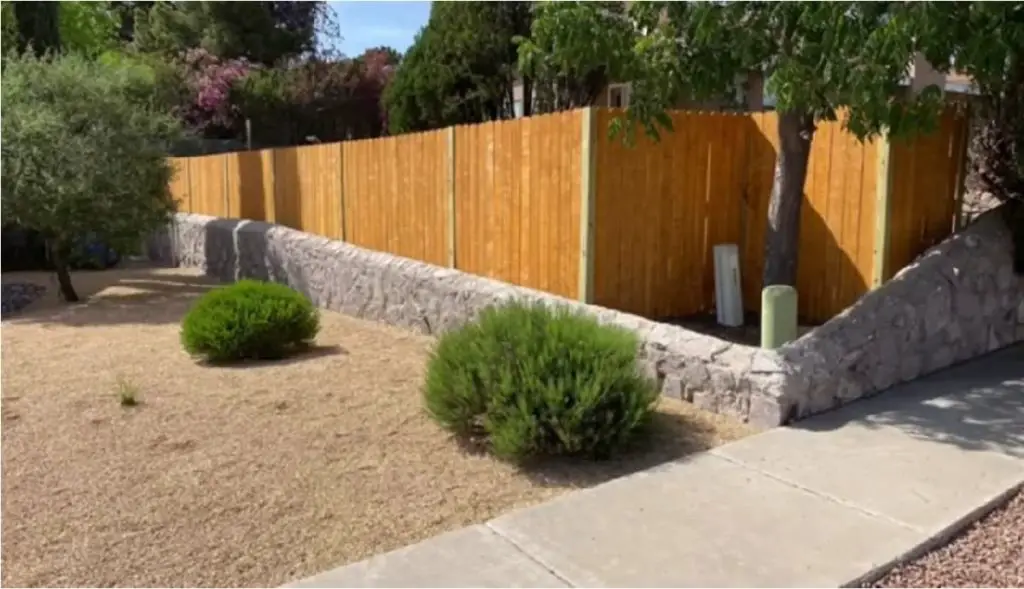
One of the most interesting and important issues within the security and privacy of our homes is the placement of a perimeter fence around our home. This prevents unwanted animals from entering our yard, provides security against possible burglary attempts and gives us privacy from the outside.
In this article I am going to show you how to install a privacy fence with a simple but laborious method, from the comfort of your home and you can do it yourself.
The first thing we need to know is the perimeter we need to cover. We must measure longitudinally the entire area where we will place the fence. It is important to know if the area where we are going to place our fence is shared, that is, if our land borders with another property, we must communicate the action we are going to do to the neighbors, we must be very clear where our land ends and where the land that does not belong to us begins. Having this information very clear, we proceed to investigate if it is necessary to have a permit from our municipality to be able to execute this action. If so, then, get the permit and then we are in full legal power to begin our work.
We will need several materials for this installation
Hammer, 1-1/2 inch nails, 3 inch wood thread screws, electric screwdriver, hand or electric digger, chalk for leveling and marking, 48 inch bubble level, shovel, concrete, treated pine fence lumber (4 x 4-inch, 8-foot-long posts), 2 x 4-inch, 8-foot-long treated pine planks, 1 x 4-inch, 6-foot-long wooden fence boards, handsaw and electric cutters (jigsaws).
Calculation of materials
To calculate the materials we will need for the installation of our fence, it is necessary to know what is the perimeter we are going to cover and having this information, we need 1 post every 7 feet of perimeter. To exemplify the above, if we have a perimeter of 70 feet, we need to buy 11 posts of 4 x 4 inches and 8 feet long (this is because we have 10 spaces of 7 feet and for which we need 11 posts). For the calculation of the wood beams (the ones that go horizontally), we would need 3 for each pair of posts, which for our example would be 30 treated pine planks of 2 x 4 inches and 8 feet long. To continue with our calculation we would need 21 1 x 4 inch, 6 foot long wood fence boards for each pair of posts, which for our example of a 70 foot perimeter fence would be a total of 210 units. To calculate the powdered concrete, we need 1 25 kg sleeve per post, which for our example of a 70 ft. perimeter fence would be 210 units. For each post, which for our example would be a total of 11 units. Finally, the screws would be 4 for each 2 x 4 plank (which gives us a total of 120 units) and the nails would be 6 for each 1 x 4 plank (which gives us a total of 1260 units).
Keep in mind that these calculations are approximate and proportional to the number of posts we install. In addition, we must also consider an additional 10% in the amount of materials due to cuts and waste.
Now that we have the exact calculation of the materials to be used, we proceed to define the method of how to install a privacy fence step by step.
Step 1
The first thing we must do to install our fence is to clean well the area or perimeter where the installation is going to be done. We must remove the weeds and any obstacles that interfere with the placement of the fence on the ground or its surroundings.
Step 2
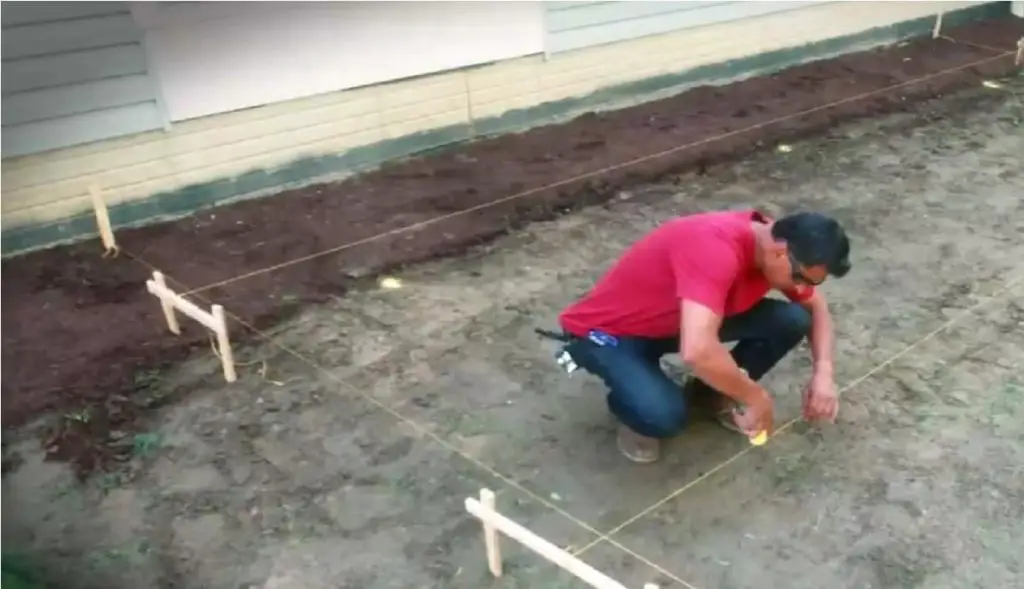
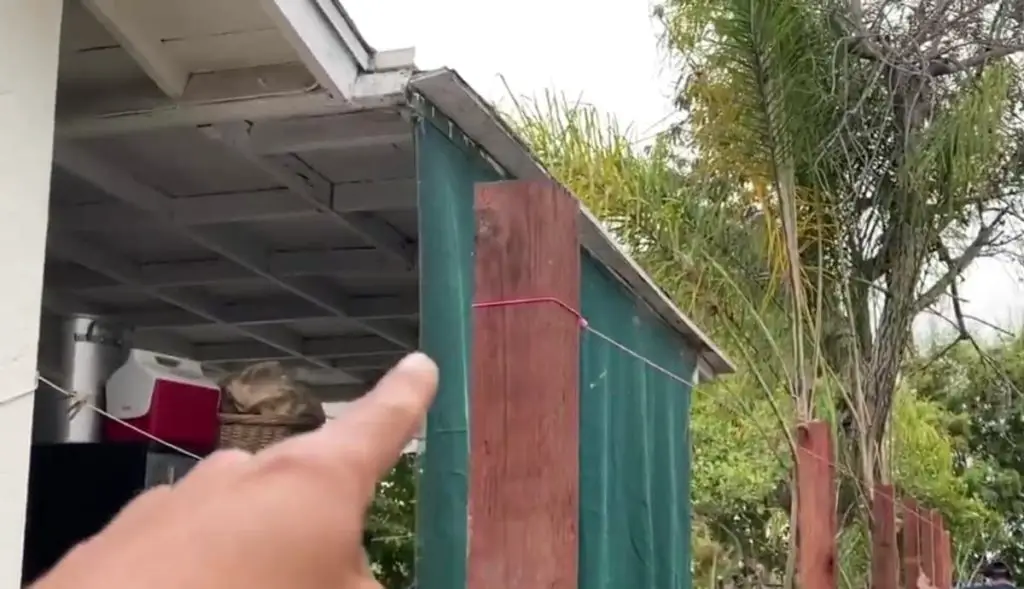
Once we have the area clear, we proceed to mark the edges of the perimeter. Now that we have the area clear, we proceed to mark the edges of the perimeter. This procedure is achieved by placing a leveling line between the start and end points of each edge of the perimeter. With this method we guarantee that all the posts are completely aligned. Once we have the level line we mark the distance between each post, making a mark directly on the ground (This distance should be 7 feet between each post).
Step 3
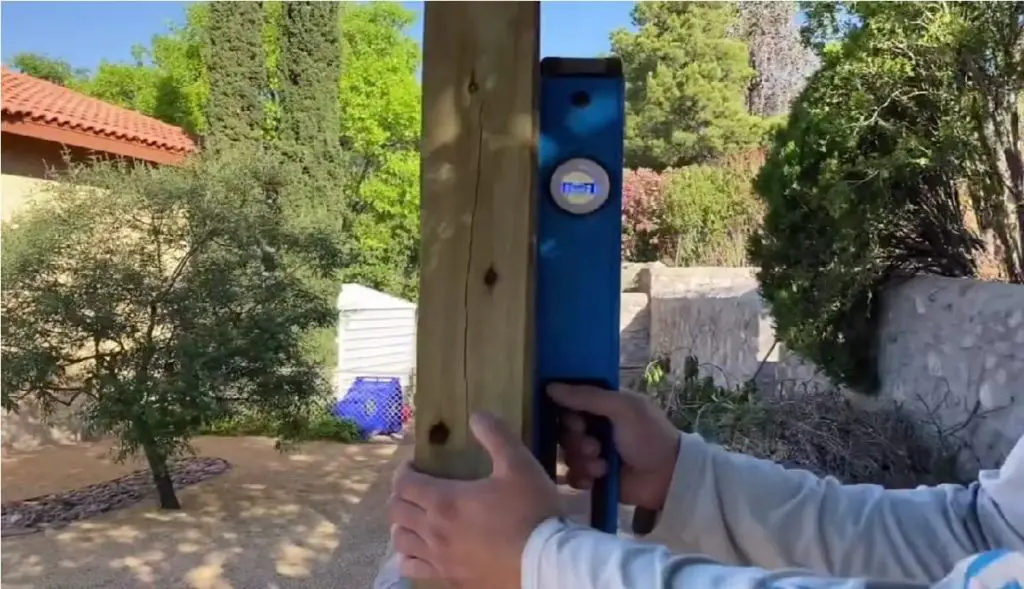
Then, at each mark, which represents the location of each post, we dig a hole 2 feet deep and 8 inches in diameter. The above mentioned is for the purpose of placing the posts. Once inside, we must use wedges to keep each post in a completely vertical position, at 90 degrees to the ground. For this operation we need to level two perpendicular faces of the post with the help of the bubble level and fix it in that position with the wedges that would be, in turn, fixed to the ground.
Step 4
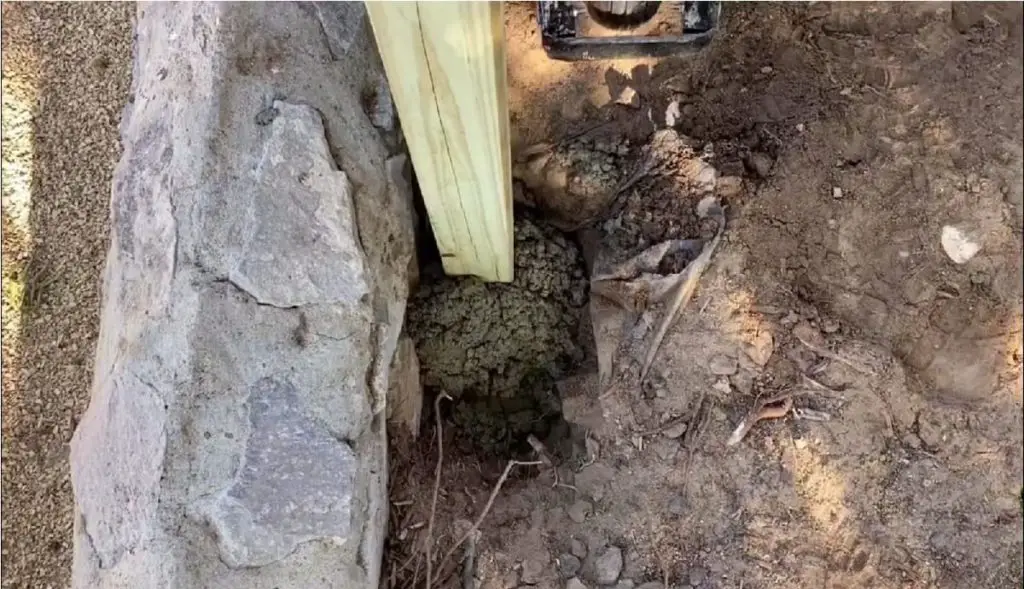
Once we have the post leveled and totally vertical, we proceed to pour the cement into the hole, making sure that it makes contact with the entire surface of the post that is in the ground. It must be taken into account that the mixture of concrete and water must be the one specified by the manufacturer, as well as the drying time. This time must elapse before continuing with the installation.
Step 5
After the concrete has dried and the posts are firm and completely vertical, remove the wedges and proceed to measure the height of our fence. This should be at least 6 feet. This height is measured on the posts at the ends of each edge and a leveling string is placed between the posts. The purpose of this operation is to ensure that all the posts are at the same height. Then each post is marked where the leveling thread passes and the excess is cut off. For this we use the jigsaw or the handsaw.
Step 6
Now we proceed to install the horizontal supports or 2 x 4 inch treated pine planks. For this operation we must place three supports for each pair of posts. We measure the exact length and cut the boards and then screw them into position (for this we use the 3-inch screws). The ideal position of each support would be 1 foot measured from the ground (this would be the bottom support), 1 foot measured from the top (this would be the top support) and finally the center support right in the middle of the ones already in place. This operation is repeated in each space every two posts. It should be noted that all the supports must be aligned horizontally from the first to the last in each position for which we will use the leveling thread again.

Step 7:
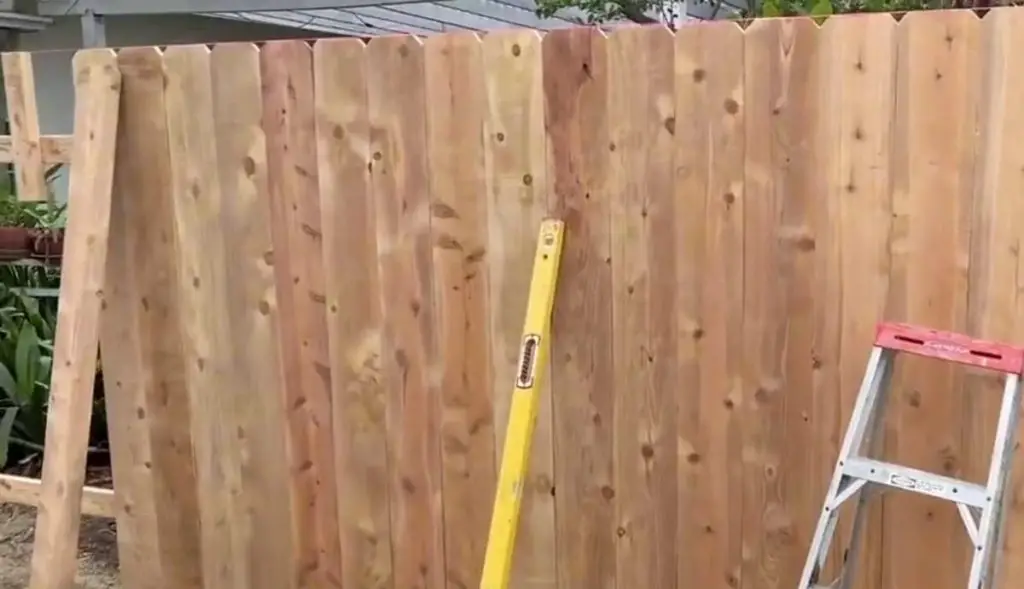
After having the horizontal supports properly installed, and as the last step, we proceed to place the vertical wooden fence boards of 1 x 4 inches around the perimeter. With the help of the leveling wire we place it at a distance of 3 inches above the top of the posts and we fix it using it as a reference so that the 1 x 4 inch boards are all level. After fixing the leveling thread we install the first board, they are placed well together, without leaving gaps between one and the other, and are fixed with nails to the supports making two fixings in each support. And so the operation is repeated with all the boards until the entire fence is completely covered.
Conclusion
Given the importance and relevance of having a perimeter fence around our home, it is convenient to make an article, which speaks in detail about a method of how to install a privacy fence. With the method described above you will be able to install such a fence in an easy and didactic way. It is a bit laborious, but by doing this installation you will have the privacy you long for around your home. In addition, it provides security against possible unexpected visits from animals that enter your garden or yard causing havoc and, most importantly, reduces the risk of theft inside your home.
I hope you find this information useful and that you can place your fence to provide all these benefits to your property.
