If you are looking to add a new light fixture or maybe just want to run some new wiring in your home, you will need to drill a hole in the top plate of your wall.
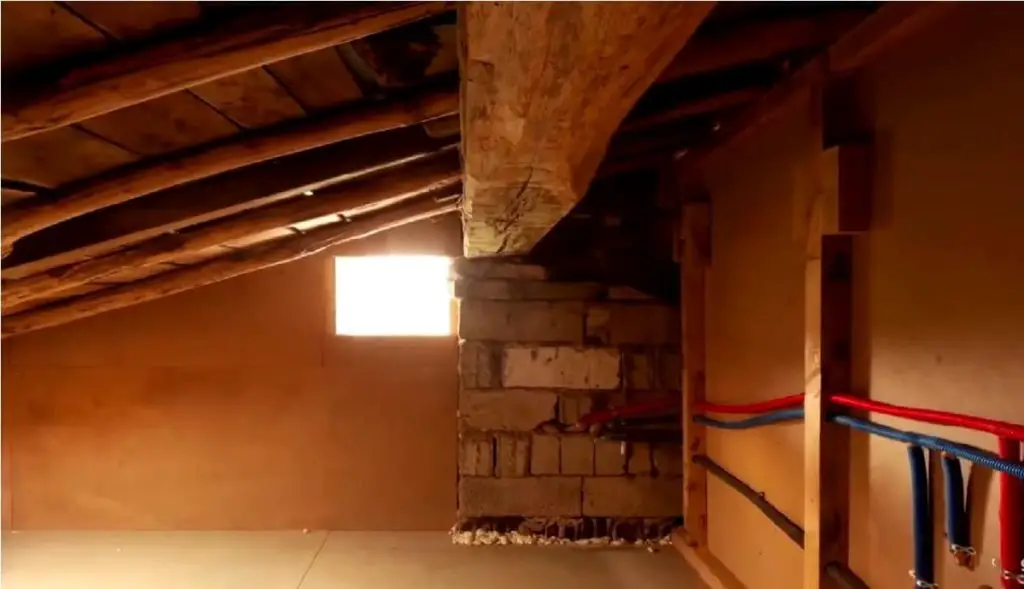
In this post, we will show you how to safely drill through the top plate of your wall from the attic. This is a practical option if you don’t want to go through the hassle of removing drywall or paneling.
Keep reading for a step-by-step guide on how to do it yourself.
Things you’ll need
Before starting, make sure you have all the tools and materials needed to drill through your top plate. That way, you won’t have to stop in the middle of the job to run to the store.
Here is what you will need:
Drill: There will be two drillings in this project, so it’s best to have a powerful drill on hand.
Drill bit: 3/4″ and 1-1/8″ holes will be drilled in the top plate, so make sure you have drill bits that are this size or larger.
Drop magnet: This is another essential material to have on hand. Drop magnets are available in hardware stores and even online, so be sure to make a quick trip to pick one up before starting.
Line or cable: We will use a line or cable to run through the hole. Ensure to prepare adequate loops of cable for this project.
Retriever unit: This is for retrieving small parts from areas you can’t reach, and this is available mainly in leading hardware stores.
Step-by-step guide on how to drill through top plate
Once you have gathered all of your tools and materials, it’s time to start this project. Below is the step by step guide to drill through your top plate from the attic:
Step one
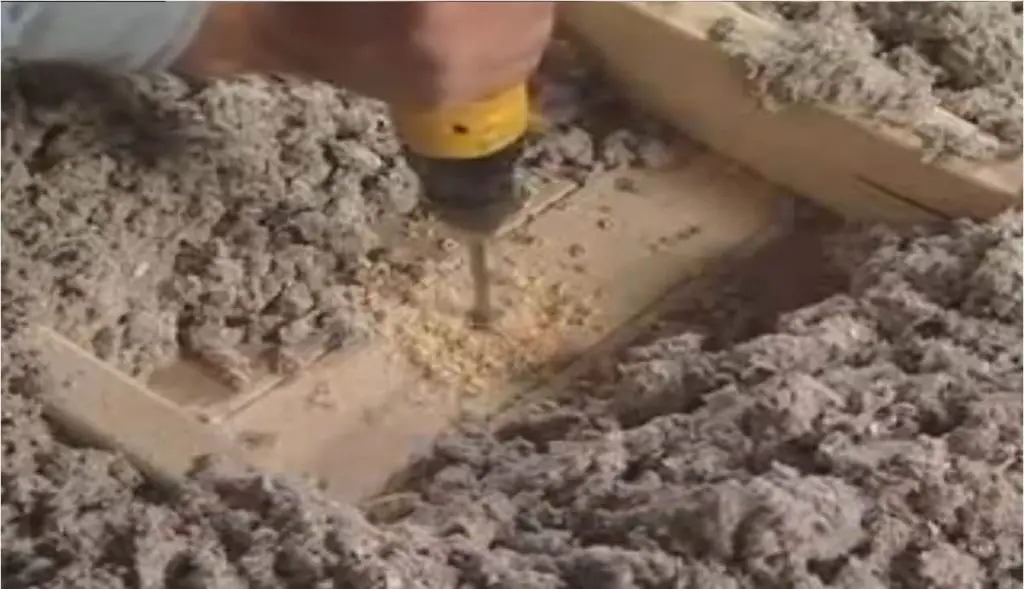
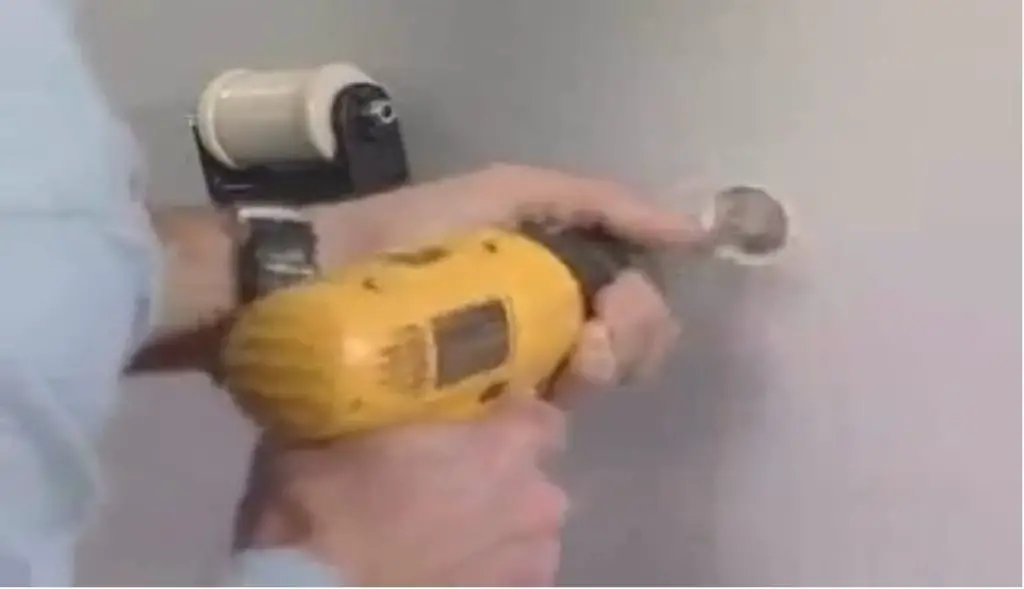
The first step is to drill a 3/4 inch hole in the wall header. The hole’s opening should be made on the centerline running vertically up through the header. Drill a pilot hole first, then open it to size with a larger bit.
Marking and measuring are essential to have your drill holes lined up perfectly. You don’t want to have crooked holes in your wall.
Step two
Now that you have the hole drilled, it’s time to move on to the next step. This is where the drop magnet comes into play. Lower the drop magnet through the hole or wall cavity and attach it to the cable.
Take note that due to the variety of wall heights, the distance the drop magnet is lowered may vary.
Also, remember to keep the drop distance minimal to minimize hang-ups.
Step three
Slowly lower the drop magnet through the hole, then attach it to your cable. Make sure that you are lowering the drop magnet at a steady pace so as not to let go of it too fast, which can cause damage. It also helps to bend your cable slightly to work as a suspender.
As mentioned earlier, wall heights may vary, so leave an adequate amount of cable to give you plenty of room to maneuver as needed. Plenty of wall drops may be made in this stage before you can leave the attic.
Step four
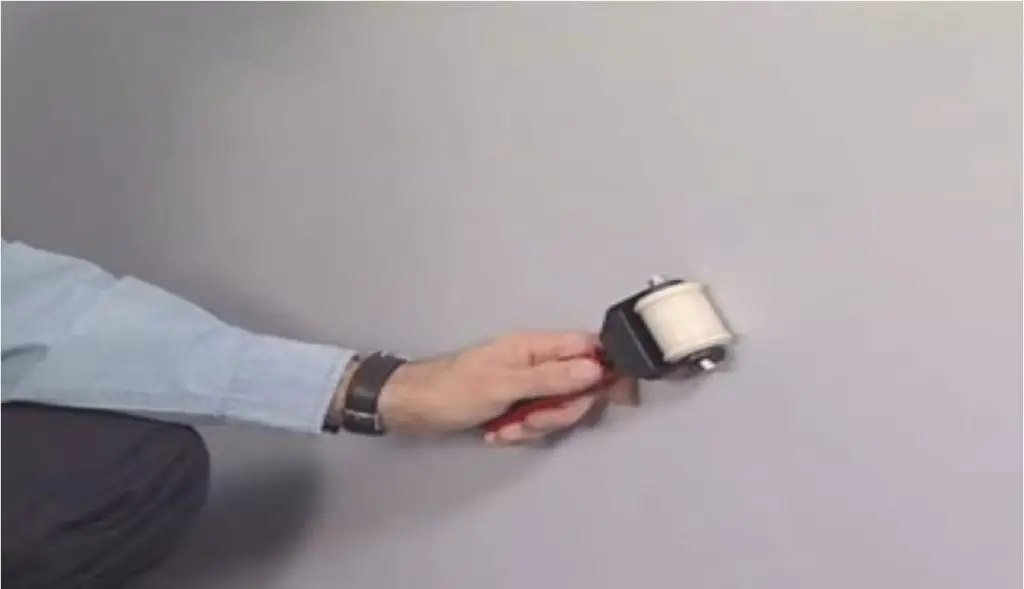
Now that the cable is in place, it’s time to head down and use your retriever unit. The retriever unit should be used to locate the drop magnet beneath the wall.
In a left-to-right motion, slowly move the retriever unit across the wall until you find the drop magnet.
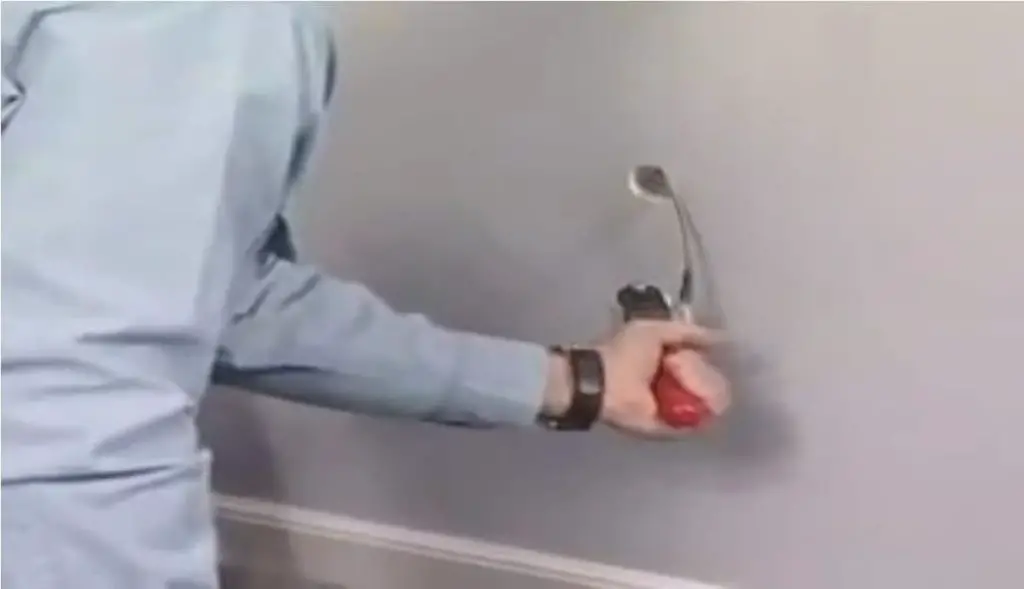
Once the retriever unit comes into contact with the drop magnet, it will be magnetically linked to the wall. The correct wall cavity and drop magnet position are verified through this magnetic connection.
In fact, when the retriever unit is linked to the drop magnet, it will hang from the wall.
Step five
Now that the retriever unit is located and magnetically attached to the drop magnet, guide the unit to where the outlet is.
It is also important to pull – not push – the retriever unit for maximum retrieval. By pulling, you avoid wall damage from excessive force and also prevent the possibility of a fall should the retriever unit become detached from its cable.
Step six
Once the retriever unit is already located in its proper place, roll the unit from left to right to know where the wooden studs are located before drilling the hole.
A retriever unit is a great tool for this stage as it will indicate where the wall studs are. This way, you can avoid drilling into any wooden or metal beams behind interior walls.
Step seven
When you’re satisfied with the outlet location, it’s finally time to drill the hole for you to retrieve the drop magnet.
Drill about 1-1/8″ hole, which is slightly larger in diameter than the drop magnet itself so that it can easily pass through.
Drill slowly to avoid splintering wood and use a drill stop to control depth.
After drilling, carefully remove any debris from the hole with a small brush or vacuum.
Step eight
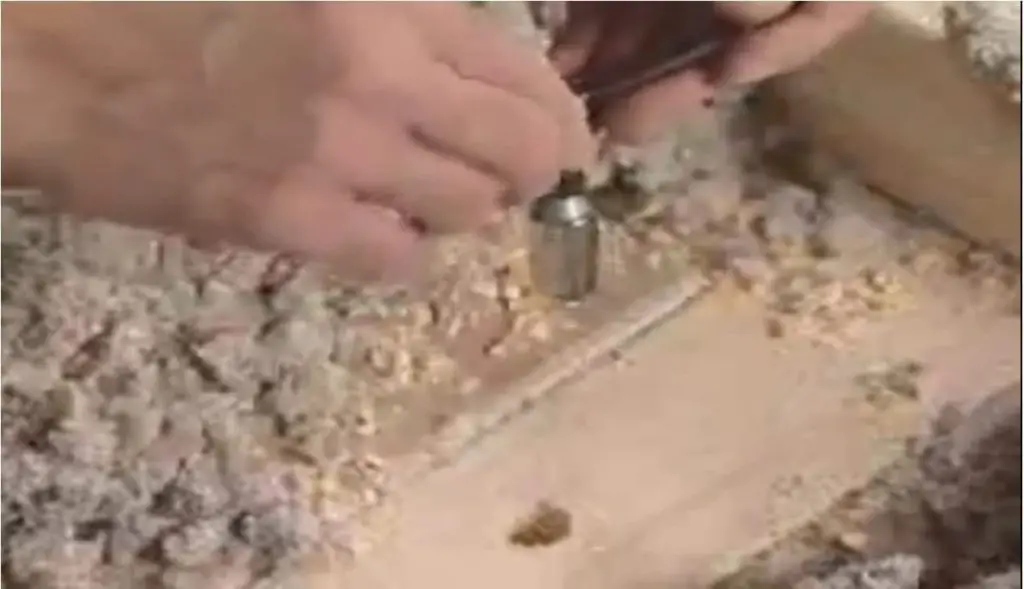
Now that the hole is drilled, guide the retriever unit to the hole location to retrieve the drop magnet suspended on the wall.
The retriever unit can now be easily passed through the hole, grabbing the drop magnet.
Step nine
Pull up on the retriever unit, which will allow you to pull out the drop magnet from behind the wall.
A fiber rod threaded with a leader magnet may also be inserted into the wall cavity and extracted using the retriever unit, making it easier to install.
Final word
By now, you already know how easy it is to fish wires from the attic and drill through the top plate.
This method of fishing wires takes less space and time than cutting holes in the wall for running cables.
However, keep in mind that you have to be careful with drilling through walls as it can cause damage if not done correctly. It is best practice to drill only when necessary, which will prevent unnecessary damages from happening at home.