After a long rainy season, some window sills might show water damage signs if the water made it through the wood. Some other window sills might show other types of damage like rot or pet bites or clawing. In any given case, there is a great decision to make when it comes to repairing interior window sill damage, as the best two choices you will have at this point are to repair it, or replace it.
As versatile and durable as they are, even window sills are prone to suffer from any kind of damage from time to time, even the best installed one will have some rotting spots after long years of housing. In this case choosing to repair it earlier on, will definitely help its general condition and durability. For this very reason, we have put together a guide to repairing interior window sill damage with various methods. And for those situations where you would have to completely replace the sill, we will provide some steps and tools for correctly repairing interior window sill damage by replacing the full installation.
If you go about the repairing route, then here are some steps:
First things first.
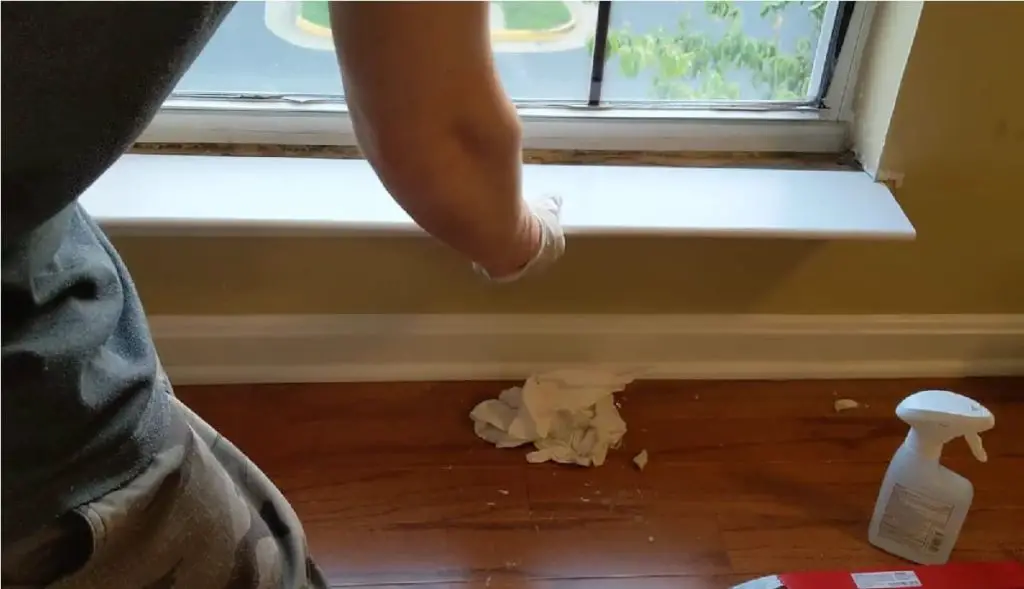
Before starting any reconstruction, make sure you cover the surrounding walls and floor area around the window sill so they don’t take any incoming damage while we try to perform our repairs. Proceed to cover with plastic or newspaper and tape, and do not forget to cover around the window area that is not part of the sill. Once everything is covered we should be able to start removing any current painting sitting on the window sill. It is best to get rid of all old painting, so you can take advantage and give your window sill a renewed look and refresh the paint coverage, for this you can use paint striper or just a sand paper depending on the condition of the old paint.
Preparations.
Once your window sill is ready for you to do some maintenance on it, start searching and weeding out any soft spots you feel around the whole installation. A chisel will help you out digging the rot away whenever you spot it, then fill in the area with any wood filler you decide to use. Since this product will harden in the time described by its manufacturer, information you can mostly find somewhere in the can, we propose using the filler as soon as it is mixed, so it gives the desired finish to the sill.
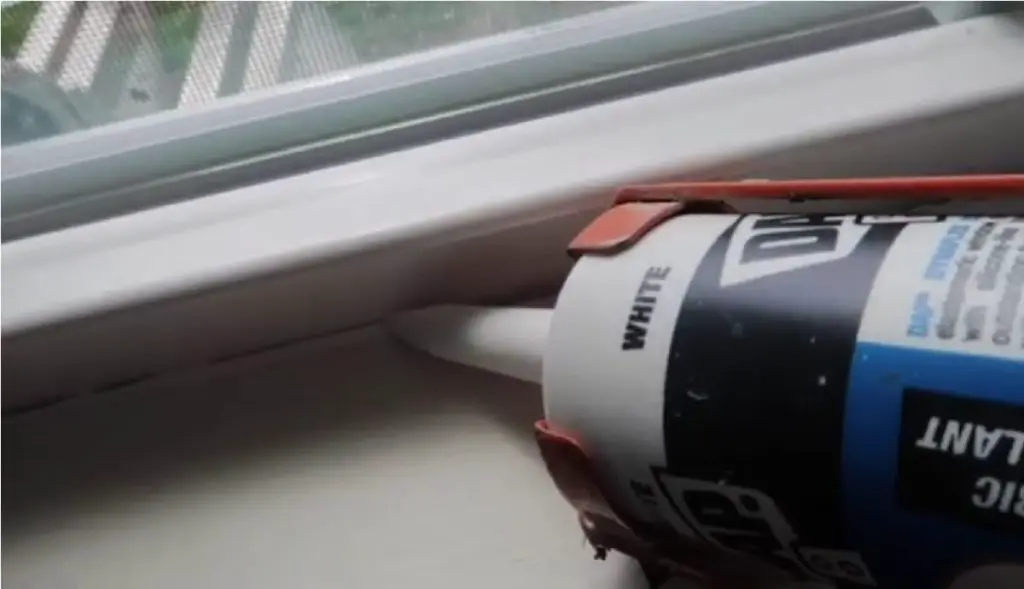
Repairing with epoxy.
The steps above also apply when we try repairing interior window sill damage with epoxy wood primer and sealer. After sanding the wooden frame, wipe down the sill and brush a thin even layer of epoxy primer on to the surface of the sill. Once dry, about ten minutes, you can start to mix the epoxy according to the instructions provided by the manufacturer. These fillers mostly come in two parts that you can mix together -typically in equal parts- and follow any mixing instructions provided as well, for best performance.
When ready, you can spread and smooth the filler with a putty knife all along your sill, filling all the spots we just fished out. Any excess filler must be scraped before it dries to allow the final sanding process to be done in quick easy motions. The final step will be to use an oil based primer and apply two coats of exterior paint to the wood surface, as this will seal the wood better than interior paint does.
Replacing the whole thing.
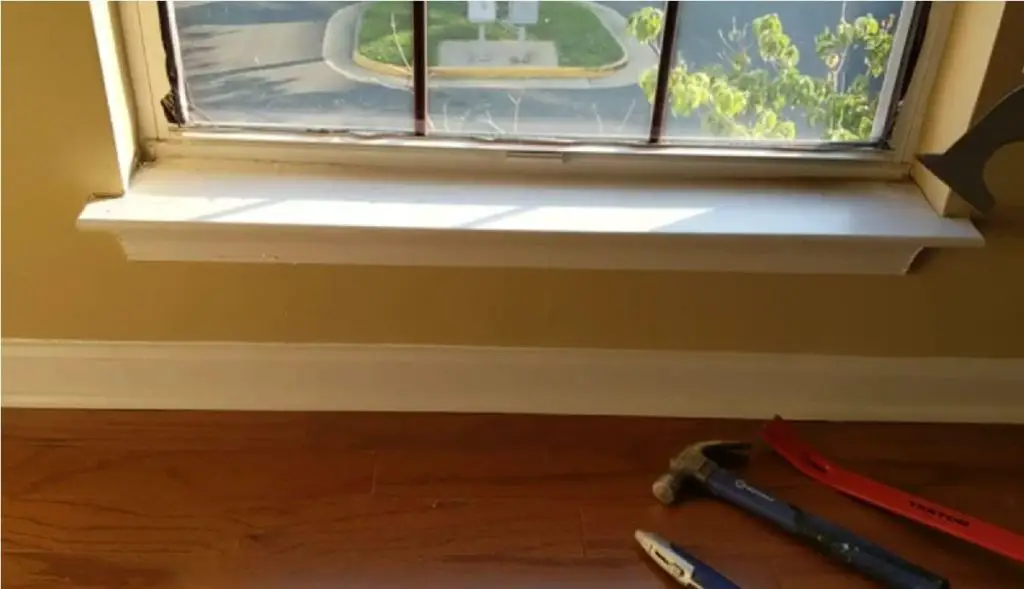
When the damage is severe and the only available option seems to be replacing rather than repairing interior window sill damage, then one must do what one must have to do. For this you will need a few materials and tools that will help you fulfill the repairs in no time, follow these steps and you will be done in just a matter of hours.
The materials and tools needed are: a board and router to match the frame of the other window sills, sealant and wood filler in case there is any rot on the surrounding pieces that don’t need replacing, a putty knife, hammer or pry bar, a hand saw or similar, nails, a level and trim caulk to fill in the corners.
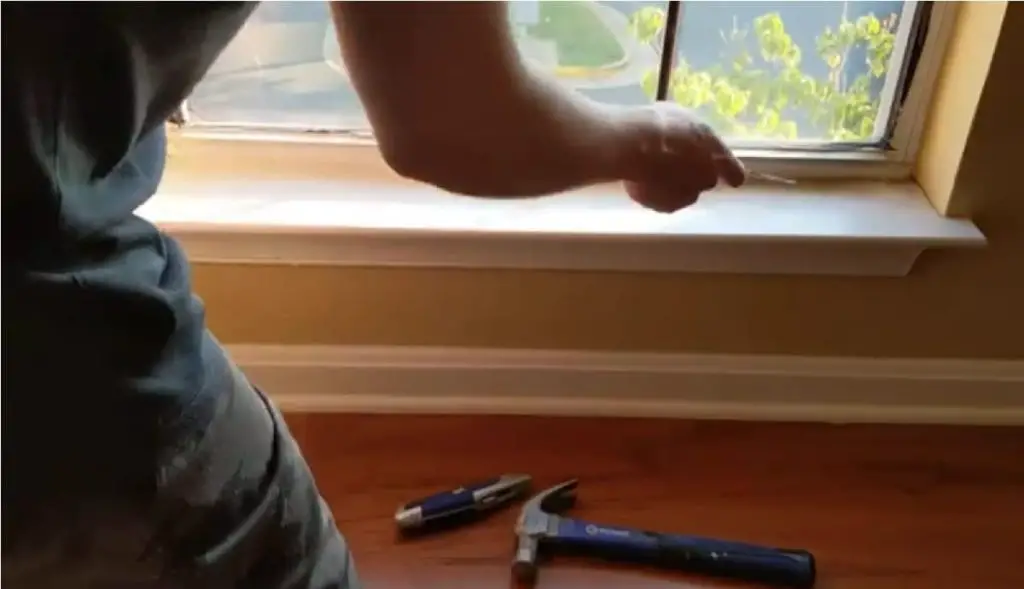
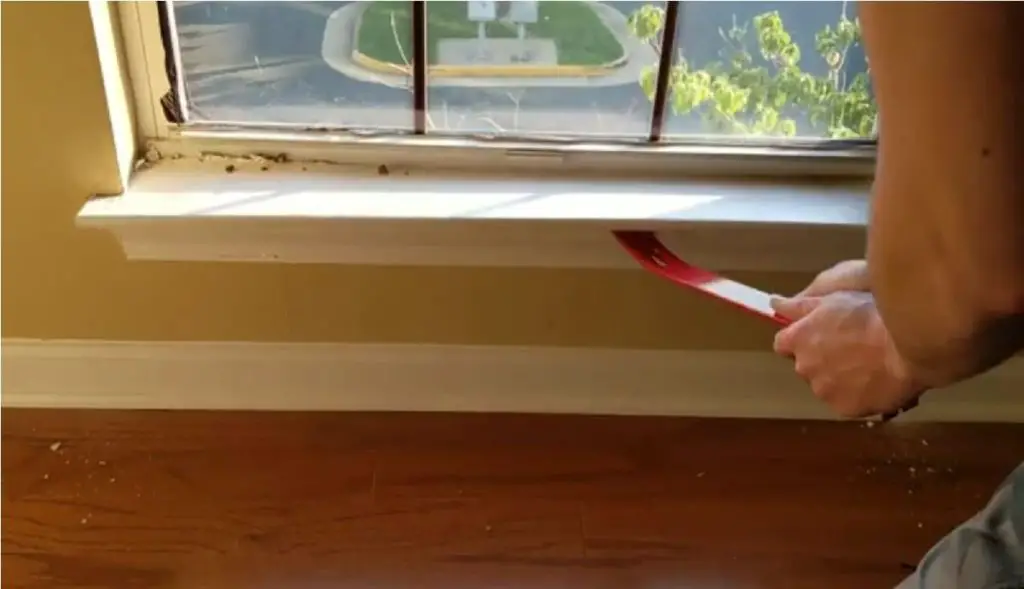
Step one.
To replace the damaged window sill, you will first have to remove any casing surrounding it to expose and remove the piece. First cut the caulk lining the sides closest to the wall with a utility knife or razor. After exposing all the planks start removing the casing with a pry bar and gently wiggling it away from the wall, remember to protect and cover your walls even for these steps. Clean any excess caulk and remove old nails or staples.
Step two.
You may now be able to get the damaged sill piece away from the window by prying it or using a chisel to remove it from its place. Clean the area as in step one from any caulk and old nail and staples. If you manage to take the sill piece out in one place, it can help you greatly when making the new piece to fit the window. Once removed, this is the time you’ll check the area for any soft spots and get any rot out from the frame and surrounding areas. Use the steps given before to clean and seal these spots before replacing the sill piece.
Step three.
When it comes to a new sill piece, you can run to your nearest hardware store with the window measurements and get yourself a new plank to fit the window. If you do choose to make your own, make sure to mark any tricky corners and cut according to the old piece if available, then run the plank through a router to get the sill finished. Once the piece is ready attach it to the site in question affix it with nails, avoid gluing it down as this will only be harder to make any future maintenance.
Step four.
Finally, add the casing back into the frame if needed, and then add some finishing touches that will make your repairs that much more durable and professionally looking, for the best results in hiding all those repairs. When all the installing is done, fill all nail holes and gouges, sand any remaining roughness away, caulk all the edges and corners, and finally prime and paint as necessary, trying to match the other trims and sills in the room.