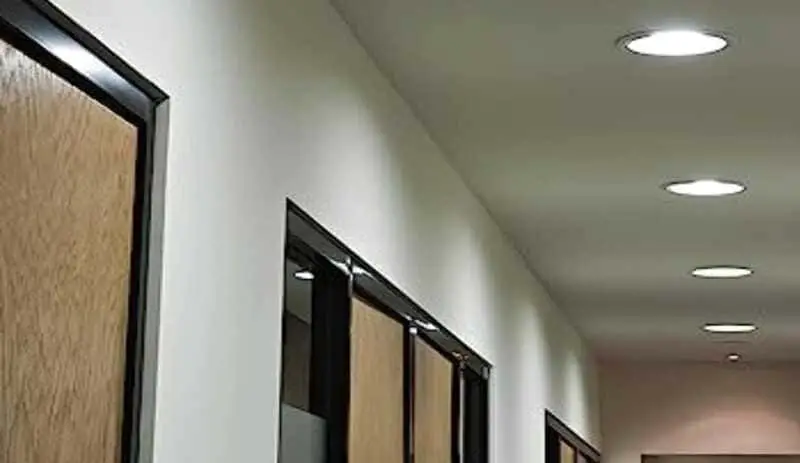
Recessed ceiling lights, also known as downlights, have gained popularity in home lighting due to their sleek appearance and ability to provide soft, focused illumination. These lights are a versatile, modern option that can enhance the aesthetics and functionality of any space. If you are looking to add a touch of sophistication to your home and are willing to embark on a DIY project, installing recessed ceiling lights may be the perfect solution.
However, installing recessed lights can seem intimidating to those with no prior experience in electrical work. But don’t worry, in this article we’ll walk you step-by-step through the installation process, providing you with the knowledge and instructions you need to complete this project confidently and safely.
From the initial planning to the electrical connection and finishing touches, in this article we will provide you with all the essential information you need to know on how to install recessed ceiling lights in your home. You’ll learn about the tools and materials needed, the different types of recessed lights available, as well as practical tips and solutions for common problems that may arise along the way.
Tools and materials needed.
When embarking on the exciting project of how to install recessed ceiling lights, it is essential to have the right tools and materials. These tools will allow you to carry out the installation efficiently and safely, while the materials will ensure that the recessed lights stay firmly in place and function properly. Below, we’ll outline a few essentials you’ll need to have on hand before you begin.
First, a set of screwdrivers is essential. These versatile tools will help you remove existing ceiling covers and secure recessed lights in place. Make sure you have screwdrivers of different sizes and types to accommodate different needs that may arise during installation.
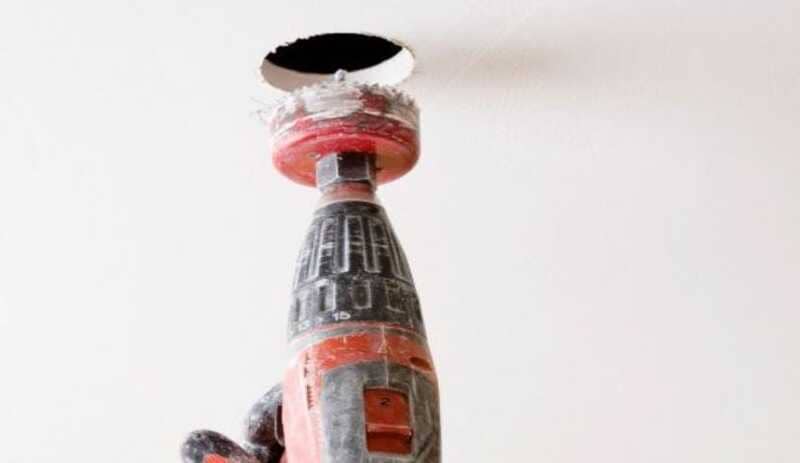
Another essential tool is the drill. You will need to drill holes in the ceiling to place the recessed lights. Make sure you have an electric drill with a drill bit that is the right size for the holes required. It is also advisable to have an extra spare drill bit in case of wear and tear.
In addition, wire stripping and cutting pliers will be necessary. These tools will allow you to make the necessary electrical connections properly and safely. A pair of needle nose pliers is especially useful for handling wires with precision.
To protect your eyes during the installation process, safety glasses are a must. These will provide you with additional protection from dust, debris and particles that may be released during the drilling and mounting of recessed lights.
As for materials, you will need to have the recessed ceiling lights themselves. Be sure to select recessed lights that fit your specific preferences and needs, taking into account the type of lighting you want to achieve and the technical specifications required.
In addition, you will require electrical wires, connectors and junction boxes to make the necessary electrical connections. These elements will ensure that the recessed lights are properly powered and operate safely.
Don’t forget to also purchase decorative covers or trim rings to add a finishing touch to the installation and hide any imperfections in the ceiling around the recessed lights.
Planning and design.
Before diving into the process of how to install recessed ceiling lights, it is crucial to spend time on planning and design. These initial stages are critical to ensure you get the best results in terms of aesthetics and functionality. Here we will introduce you to the importance of planning and offer practical advice on how to go about it.
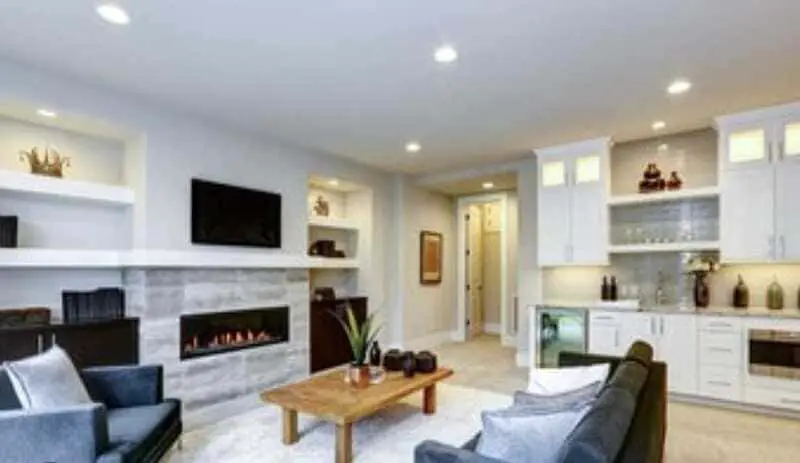
Selecting the right location for recessed lighting is one of the first steps in the planning process. You should carefully consider the layout and purpose of the room in which you want to install the lights. Think about which areas need more focused lighting or if you want to create a more generalized ambiance. For example, in a kitchen, it is common to install recessed lights over the countertop or island to illuminate the work area. In a bedroom, you might consider placing recessed lights on the sides of the bed for soft, soothing lighting.
Another important aspect to consider is the amount of lights needed. This will depend on the size of the room and the amount of light you wish to achieve. In general, it is recommended to space recessed lights evenly on the ceiling to avoid shadows or dark areas. A good rule of thumb is to place lights approximately 5 feet apart. However, remember to adjust this distance according to the size and shape of the room.
Ceiling distribution is also a key factor in lighting design. You can opt for a symmetrical layout, placing the lights in rows or geometric patterns, or you can be more creative and design a custom layout. Consider existing architectural elements, such as beams or moldings, and how they may influence the placement of recessed lights.
Also, consider whether you want to use different types of recessed lighting in the same room. For example, you can combine warm and cool recessed lighting to create different moods or use directional lighting to highlight decorative elements or artwork.
Remember that planning and design will help you maximize the benefits of recessed ceiling lights. Take the time to assess your lighting needs, visualize how you want the room to look and map out a plan before you begin installation. This will allow you to make informed decisions and achieve a satisfactory end result in terms of aesthetics and functionality.
Choosing recessed lighting types.
Another aspect of utmost importance when it comes to how to install recessed ceiling lights is to consider the different types of lights available on the market. Each type of recessed light has its own unique features and benefits. Below, we will introduce some of the most common types, such as LED, halogen and fluorescent, and discuss their advantages and disadvantages.
LED recessed lights have become extremely popular in recent years due to their energy efficiency and long life. These lights use light-emitting diode technology, which makes them highly energy efficient. LED downlights are bright, offer a wide range of color temperature options and are compatible with dimmers, allowing you to adjust the brightness according to your needs. In addition, their lifespan is significantly longer than other types of lights, reducing the need for frequent replacement. However, LED downlights tend to have a higher initial cost compared to other options.
Halogen downlights, on the other hand, are known for their bright, warm light. These lights are ideal for highlighting specific elements in a room, such as artwork or architectural details. Halogen recessed lights are relatively easy to install and offer accurate color rendering. However, they have a shorter lifespan and are less energy efficient compared to LED lights. They also tend to generate more heat, which can be an important consideration in certain environments.
Another option to consider is fluorescent recessed lights. These lights are known for their energy efficiency and their ability to produce a bright, even light. Fluorescent recessed lights are a popular choice for commercial spaces due to their long life and ability to evenly illuminate large areas. However, some people may find their light quality less appealing, as they can emit a cooler light and do not offer as varied color temperature options as LED lights.
When choosing the type of recessed lights, you want to install, it is important to consider your personal needs and preferences, as well as the purpose of the room in which they will be installed. Consider factors such as energy efficiency, light quality, lifespan and initial cost when making your decision.
Preparation of the installation area.
Before starting the process of how to install recessed ceiling lights, it is crucial to perform a proper preparation of the area where the installation will take place. This will ensure a safe environment and make the installation process easier. Below, I will guide you step by step on how to prepare the installation area.
1- Disconnect the electricity: Before doing any electrical work, it is essential to turn off the electricity in the area where the recessed lights will be installed. Go to the switch box and locate the switch corresponding to that specific area. Turn off the switch and verify that the power is actually off using a lamp or an electronic device in a nearby outlet.
2- Wire location: Once you have made sure the power is off, it is important to locate the existing wires in the ceiling. Carefully remove the existing light switch cover or light fixture and examine the wires. Be sure to identify the main power wire, the neutral wire and, in some cases, the ground wire. These wires will be essential for making the proper connections to the recessed lights.
3- Ceiling Protection: Before drilling begins, protect the surrounding area to prevent damage to the ceiling. Use plastic sheeting or a sturdy piece of cloth to cover the floor and nearby furniture. This will prevent dust and debris from falling on them during the installation process.
4- Mark and measure: Take accurate measurements and use a pencil to mark the spots where you will drill holes for the recessed lights. Be sure to follow the design and layout you previously planned, keeping in mind the proper distance between the lights and any obstacles, such as beams or ductwork in the ceiling.
5- Prepare the tools: Check that all the necessary tools, such as drills and drill bits, are in good working condition and ready for use. Also have the proper drill bits on hand to drill the required holes according to the size of the recessed lights.
Electrical installation.
Once you’ve prepared the installation area and are ready to continue with the process of how to install recessed ceiling lights, it’s time to tackle the electrical installation. This involves making the proper connections to power the recessed lights. Here are the steps necessary to complete this task safely and efficiently.
1- Turn off the power: Before beginning any electrical work, be sure to turn off the power in the installation area. This involves turning off the corresponding switch on the breaker panel and verifying that the electricity is actually disconnected.
2- Connecting to the existing electrical grid: If you already have an existing electrical grid in the location where you want to install the recessed lights, you must identify the appropriate wires to make the connections. Typically, you will have a main power (phase) wire, a neutral wire and, in some cases, a ground wire. Using pliers and appropriate connectors, connect the main power cable from the mains to the junction box of the recessed lights. Be sure to match the wires correctly (phase to phase, neutral to neutral and ground to ground) and tighten the connectors securely.
3- Installing a new circuit: If you do not have an existing electrical network in the installation area, you may need to install a new circuit. This will require some electrical knowledge and it may be advisable to seek the help of a professional electrician. The process involves identifying the main power source and tapping a new circuit from there to the location of the recessed lights. This involves installing a suitable circuit breaker in the breaker box and wiring the new circuit to the recessed lights, making sure to follow electrical standards and use wires of the proper size and type.
4- Verify connections: Once you have made the electrical connections, double check that all wires are securely connected and that there are no loose or exposed wires. Make sure the connectors are tight and that there are no frayed or damaged wires.
Physical installation of the recessed lights.
Once you’ve completed the electrical installation, it’s time to tackle the physical installation of the recessed ceiling lights. Below are the steps necessary to carry out this part of the process of how to install recessed ceiling lights.
Drilling the holes: Using a drill equipped with the appropriate drill bit, drill the holes in the ceiling according to the markings you made previously. Be sure to follow the precise measurements and planned layout. Be aware of any obstructions in the ceiling, such as rafters or ductwork, and adjust the location of the holes if necessary. When drilling holes, be careful not to damage existing cables or any other components in the ceiling.
Cable Routing: Once the holes are drilled, route the electrical wires from the junction box to each of the holes. Be sure to route the wires through the holes neatly and maintain a clean and secure routing. If necessary, use cable ties to secure the wires along the rafters or ceiling structures.
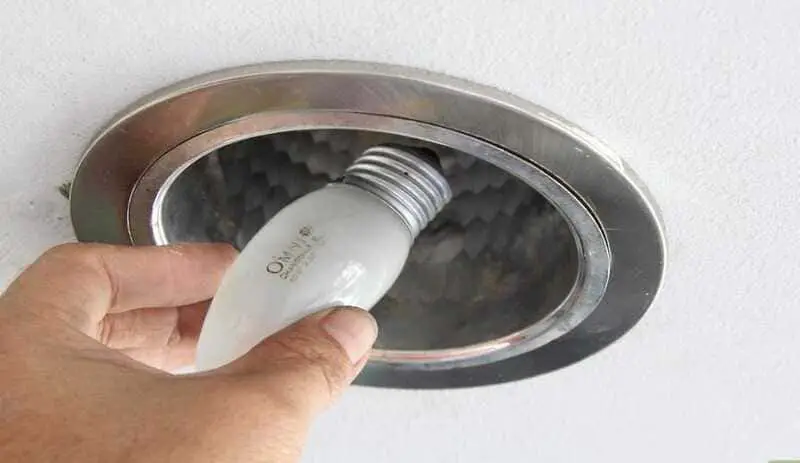
Mounting the lights: Now it is time to mount the recessed lights in the holes. Remove the decorative covers or rings from the lights, if they have them, and position the lights in the holes so that they are flush with the ceiling surface. Use the clips or retaining springs provided with the lights to secure them in place. Be sure to follow the manufacturer’s instructions and verify that the lights are securely fastened and will not move.
Connecting the wires: Make the final electrical connections, connecting the wires from the recessed lights to the corresponding wires in the junction box. Be sure to match the wires correctly (phase to phase, neutral to neutral and ground to ground) and use appropriate connectors to make the connections securely and tightly. Double check that all connections are tight and that there are no loose or exposed wires.
Final Finish: Once you have completed the physical installation and electrical connections, attach decorative covers or rings to the recessed lights, if applicable. Make sure the covers are properly aligned and tightened for a clean, aesthetically pleasing finish on the ceiling.
Connection and testing.
Once you’ve completed the physical installation of the recessed ceiling lights, it’s time to make the final connection to the electrical system and test their operation. Below, I will explain the steps necessary to carry out this stage of the process of how to install recessed ceiling lights.
Electrical connection: Make sure the electricity is turned off before proceeding. Then, make the final electrical connections between the wires from the recessed lights and the corresponding wires in the junction box. Be sure to match the wires correctly (phase to phase, neutral to neutral and ground to ground) and use proper connectors to make secure and tight connections. Check that all connections are tight and that there are no loose or exposed wires.
Turn on the power: Once you have made the electrical connections, turn on the power to the installation area. Go back to the switch box and turn the switch back on for the recessed lights. Verify that the power is working properly and that the lights turn on.
Test Run: With the power on, perform a test run of the recessed lights. Make sure that all lights turn on properly and that there are no connection or operational problems. Verify that the light intensity is as expected and that there is no flickering or fluctuations. If you find any problems, check the electrical connections and make sure everything is properly connected and tightened.
Adjustments needed: If you encounter any problems during the test run, such as lights not coming on or flickering, you may need to make some adjustments. Check the electrical connections and make sure they are properly made. If necessary, turn the power off again and make any necessary adjustments before turning it back on and performing another test run.
Always remember to follow safety rules and use proper protective equipment during the connection and testing process. If you do not feel confident or comfortable making the necessary electrical connections or adjustments, it is advisable to seek the help of a professional electrician. Once you have made the connections and tested the recessed lights, you will be able to enjoy beautiful and functional lighting in your space.