Safety is a fundamental concern in any environment, whether at home, at work or in public spaces. Accidents caused by slips and falls can have serious consequences, especially for the elderly and people with reduced mobility. One effective way to prevent such accidents is by installing anti-slip strips on slippery surfaces.
In this article, we will explore how to install anti-slip tapes, how to choose the right tape for your specific application, and the step-by-step to install them safely and efficiently.
In addition, we will also discuss the maintenance required to ensure the long-term effectiveness of slip-resistant tapes. With this information, you will be able to protect you and your loved ones, as well as anyone who walks through your spaces, from potential accidents caused by slips and falls.
Why are anti-slip strips important?
Anti-slip strips are an essential safety measure anywhere there is a slippery surface, such as stairs, walkways, ramps or swimming pools. Their function is to provide additional traction and prevent slips and falls, which can be dangerous and even fatal. Anti-slip strips are a popular choice for improving safety at home, at work and in public spaces because they are easy to install and inexpensive compared to other safety solutions.
To begin the process of how to install anti-slip tapes, it is first important to select the right tape for the surface on which it will be used. Some tapes are designed for dry areas, while others are water resistant and are designed for wet or damp areas. It is also important to make sure the surface is clean and dry before applying the tape for proper adhesion.
Types of anti-slip tapes available on the market.
There are several types of anti-slip tapes available on the market, each designed to suit different surfaces and environments. Some of the most common types are:
– PVC anti-slip tapes: these tapes are water resistant and adhere to smooth surfaces such as tile and concrete floors. These tapes have a grainy surface that provides additional traction.
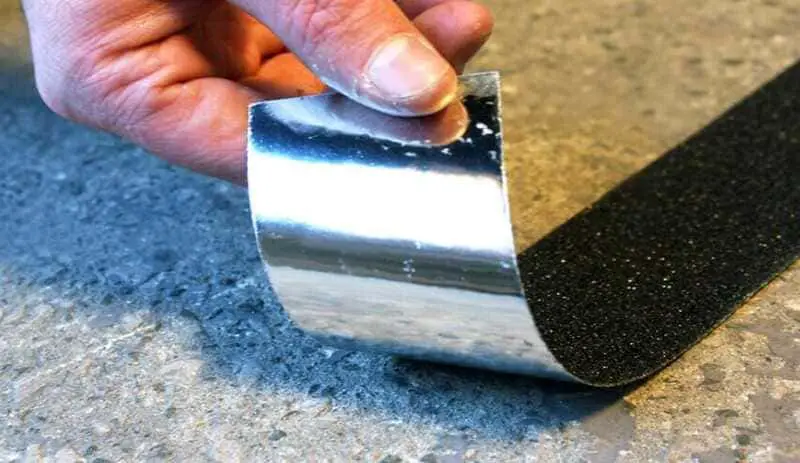
– Sandpaper anti-skid tapes: These tapes are ideal for heavy traffic areas and adhere to surfaces such as stairs and ramps. The sandpaper surface provides a strong and durable grip.
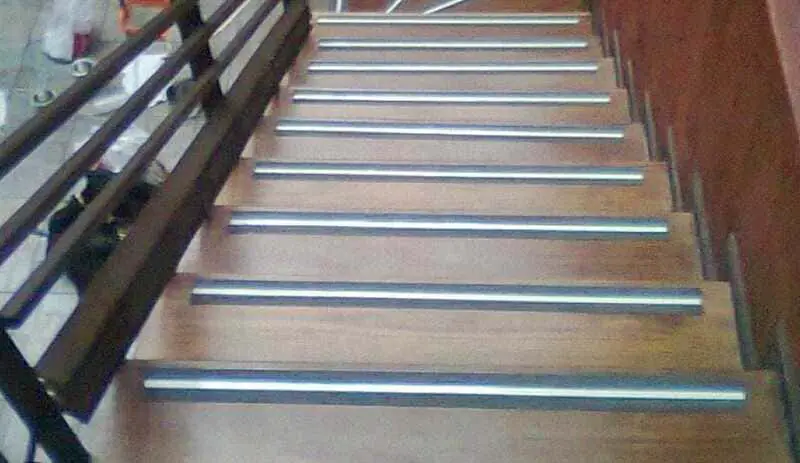
– Photo luminescent anti-slip tapes: these tapes glow in the dark, making them ideal for stairs and walkways in public and commercial buildings. They are also water resistant and provide additional traction.
– Transparent anti-slip tapes: These tapes are ideal for surfaces where you want to maintain the original appearance, such as hardwood floors or decorative tiles. The clear surface allows the original appearance of the surface to shine through while providing additional traction.
How to choose the right non-skid tape for your specific application.
An important piece of information in the process of how to install non-skid tape is choosing the right tape for a specific application. When it comes to choosing the right slip resistant tape for your specific application, it is important to consider several factors. The type of surface on which the tape will be used, the level of traffic and exposure to moisture are just a few of the factors to consider.
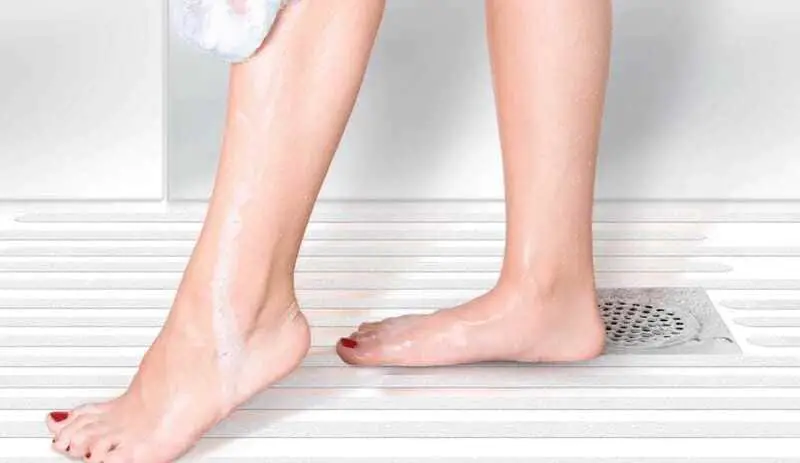
For dry surfaces, such as interior stairs or hardwood floors, PVC or clear non-skid tapes can be used. These tapes provide additional traction without affecting the original appearance of the surface. On the other hand, for wet or damp surfaces, such as outdoor areas or near swimming pools, water-resistant anti-slip tapes, such as sandpaper or photo luminescent tapes, should be used.
The level of traffic is also an important factor to consider. For high traffic areas, stronger and more durable anti-slip tapes, such as sandpaper, are recommended. For light traffic areas, PVC anti-slip tapes may be appropriate.
It is important to follow the manufacturer’s instructions when choosing and applying the proper anti-skid tape for your specific application. This ensures proper adhesion and increased durability of the tape. Making sure the surface is clean and dry before applying the tape is also essential to ensure secure adhesion.
Preparation of the surface prior to the installation of the anti-slip tape.
Before beginning the task of how to install non-skid tape on a surface, it is essential to properly prepare the surface. If the surface is not clean and dry, the tape may not adhere properly, which can jeopardize safety.
First, the surface should be cleaned with a mild cleaner and water. If there is dirt, oil or grease on the surface, specialized cleaning products should be used to remove it. It is important to ensure that the surface is completely dry before proceeding with the installation of the non-skid tape.
If the surface is porous or rough, it may be necessary to use a sealer or primer before applying the non-skid tape. The sealer or primer will help improve the adhesion of the non-skid tape to the surface.
Before applying the non-skid tape, it is important to make sure the surface is free of dust and debris. Any debris on the surface may affect the tape’s ability to adhere properly.
Tools needed to install non-skid tape.
Installing non-skid tape on a surface does not require specialized tools, however, it is important to have the proper tools to ensure a safe and effective installation.
The most important tool is a sharp pair of scissors. Scissors are used to cut the non-skid tape to the proper length to fit the surface on which it is being installed. It is important to have sharp scissors to ensure that the tape is cut cleanly and without tearing.
Another useful tool is a roller. The roller is used to press the non-skid tape firmly onto the surface, ensuring proper adhesion. A roller can also help remove air bubbles that may form under the tape.
To prepare the surface prior to installation of the non-skid tape, cleaning tools, such as a sponge and a mild cleaner, or specialized cleaning products, such as a solvent to clean the surface of any dirt or grease, may be needed.
How to cut non-skid tape to the correct size.
Cutting non-skid tape to the correct size is an important step in installing the tape to ensure an effective non-skid surface.
First, it is important to measure the surface on which the non-skid tape is to be installed and determine the length and width needed. Once you have the measurement, you can cut the tape with a pair of sharp scissors. It is important to make sure the scissors are sharp to ensure a clean cut with no tears in the tape.
It is advisable to cut the tape in a flat and safe place, where it can be fully extended and cut without restrictions. A ruler or tape measure can be used to measure the required length and width of the tape and mark the cutting area with a pencil or marker.
It is important to make sure the tape is completely flat and wrinkle-free before cutting. If the tape is bent or wrinkled, air pockets can form under the surface, which can affect its anti-slip ability.
Once the tape has been cut to the correct size, installation can proceed on the prepared and cleaned surface. Using a roller, the non-skid tape can be pressed firmly onto the surface, ensuring proper adhesion and no air bubbles.
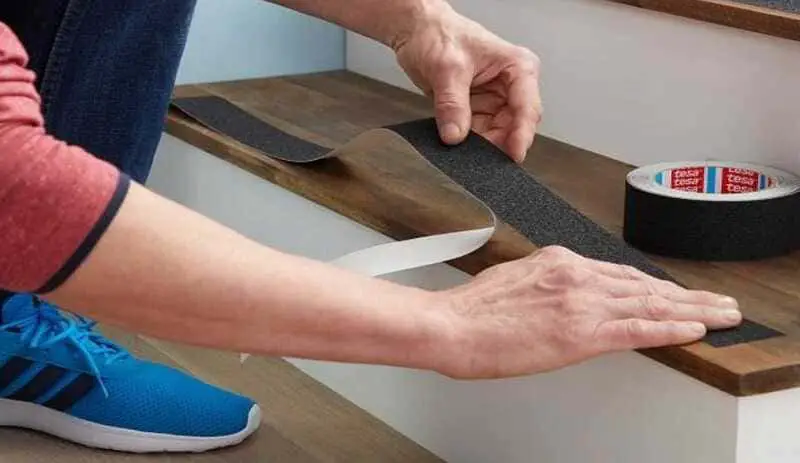
Steps to install the anti-skid tape safely and efficiently.
Installing non-skid tape is a relatively simple process, but it is important to follow certain steps to ensure a safe and efficient installation.
The first step is to prepare the surface, making sure it is clean and free of any debris that may affect the adhesion of the tape. Once the surface is ready, measure the length and width of the non-skid tape needed and cut the tape to the correct size using sharp scissors.
The protective coating can then be removed from the tape and placed on the previously prepared surface. It is important to ensure that the tape is completely flat and wrinkle-free before pressing it onto the surface, using a roller to apply pressure and ensure proper adhesion.
After installing the anti-slip tape, it is advisable to check that it is correctly fixed and that there are no air bubbles under the surface. In addition, it is important to avoid walking on the tape for at least 24 hours after installation to allow the adhesive to fully bond to the surface.
Finally, it is important to ensure that the non-skid tape is clean and dry at all times to ensure its effectiveness. If it becomes dirty or wet, it should be cleaned immediately to prevent it from losing its anti-slip ability.
Maintenance of the anti-skid tape to ensure its long-term effectiveness.
Proper maintenance of the anti-skid tape is essential to ensure its long-term effectiveness. While anti-slip tapes are designed to last a long time, it is important to perform certain maintenance tasks to ensure that they are in top condition.
For starters, it is important to keep the surface of the tape clean and dry at all times. This means wiping the belt regularly with a damp cloth to remove dirt, dust and other debris. If the tape becomes very dirty or wet, it should be cleaned immediately to prevent it from losing its anti-slip ability.
Another important aspect of slip-resistant tape maintenance is to regularly check that it is properly secured to the surface. If the tape starts to come loose, it is important to reattach it immediately before an accident occurs. To do this, double-sided adhesive or special adhesive tape can be used to ensure that the tape is firmly fixed.
Finally, it is important to regularly check the general condition of the anti-slip tape. If the tape has become worn or damaged, it should be replaced immediately to ensure the safety of the surface. Most anti-slip tapes have a lifespan of several years, but it is important to regularly check their condition to ensure that they remain effective.
Troubleshooting common problems when installing anti-skid strips.
Installing non-skid strips can be a relatively simple task, but sometimes problems can occur. Below are some of the common problems that can arise during the installation of anti-slip tapes, along with recommended solutions:
1- The tape does not adhere well to the surface: this problem can occur if the surface is not clean or dry prior to tape installation. To solve it, make sure to clean and dry the surface well before applying the tape.
2- Tape lifts at the edges: this may occur if the tape has not been properly attached to the surface. To fix this, reapply the tape making sure that it is well fixed to the surface and that the edges are firmly glued.
3- The tape is not level: if the tape is not level, it is possible that stress points may be created that can cause the tape to lift or break. To fix this, make sure the tape is evenly positioned and that there are no wrinkles or creases.
4- The tape is too short or too long: it is important to measure and cut the tape to the correct length before installation. If the tape is too short or too long, it may not provide the coverage needed to prevent accidents. To fix this, be sure to carefully measure and cut the tape to the correct length.
In general, most problems during the installation of non-skid tape can be easily solved by following these basic tips. If you still have problems, consult the manufacturer’s instructions or seek professional advice to ensure that the tape is installed correctly and is effective in preventing accidents.
