Caulking may sound easy, but most people don’t know how to do it, so they make a mess. You can learn how to do it the right way, though. If you take some time, you will make your caulking jobs look like they were done by a professional.
In this blog post, we’ll show you how to caulk like a pro so you can get the job done quickly and efficiently. Keep reading to know how to choose the right caulk, apply it correctly, and achieve a flawless finish. Let’s get started!
What is caulk, and what does it do?
Caulk is a sealant used to fill in the gaps between two surfaces. It’s made of latex, silicone, or acrylic and comes in various colors.

Caulk can be used to seal cracks, crevices, and joints in many different applications, including windows and doors; sinks and countertops; shower stalls and bathtubs; tiles and grout lines; and more.
When caulking is wet and moist, it’s simple to smooth, but it’s a lot harder to work with once it’s dry. Caulk is not sand able, so there is a need to get the caulking right the first time.
Types of caulking material
Not all caulks are created equal. There are different types of caulks for different applications, and it’s essential to choose the right one. Here are some of the most common types of caulking material:
Latex caulk
Latex caulk is the most common type of caulking. It’s easy to use, affordable, versatile, and can be used for most home improvement projects.
Silicone caulk
Silicone caulk is a premium caulking material that is more expensive than latex. It’s also harder to use, but it has some advantages over latex.
Silicone caulk is waterproof and can be used in bathrooms and kitchens. It is stain-resistant and stays flexible over time. It also has a longer lifespan than latex caulk.
Acrylic caulk
Acrylic caulk is another premium caulking material similar to silicone caulk, but it costs even more than silicone. It’s also more complicated to use than silicone caulk. Acrylic caulking is waterproof, stain-resistant, and flexible. Like silicone caulk, it has a longer lifespan than latex caulk.
Choosing the right caulking
When choosing a caulking material, it’s important to consider the application you’re using it for. You should choose caulking that is appropriate for the location of your project and its intended use.
For example, if you’re applying the caulk in a bathroom or kitchen area, silicone caulk would be more suitable than latex because it’s waterproof. However, if you’re joining two pieces of wood, latex caulk would be more suitable because it expands and contracts with temperature changes.
When choosing caulk, it’s also essential to consider the color. If there is already a lot of color in your project area (say, if you are applying it over tiles), then an off-white or white caulk would be more suitable than something with strong pigmentation like orange or brown.
Applying caulk correctly
The application process is similar whether you’re using latex, silicone, or acrylic caulk material. Here are some tips and tricks to help you get it right:
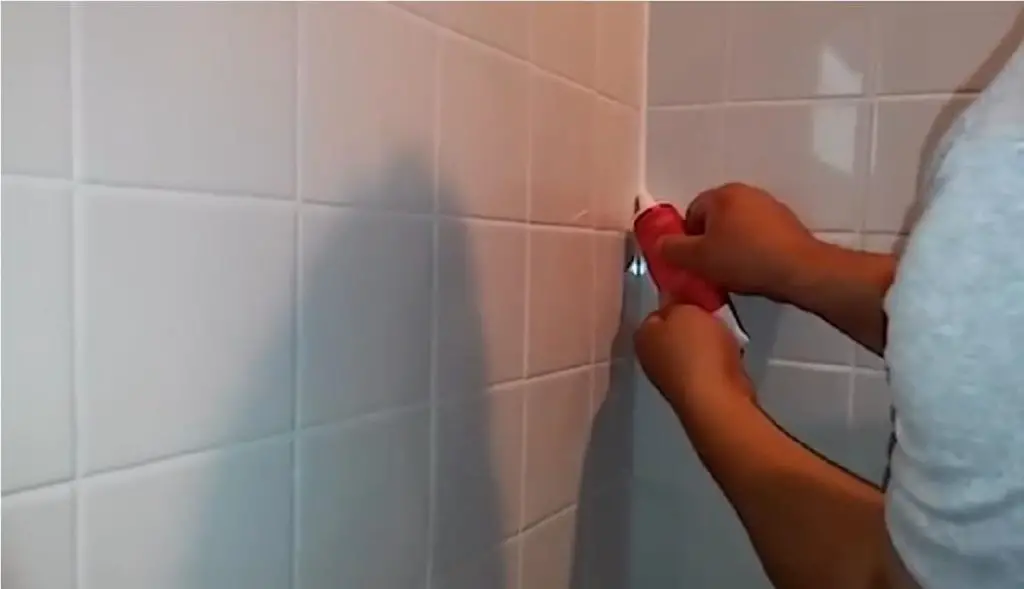
Clean the surfaces you’re caulking with a degreaser or soap and water. This will help the caulk adhere better to the surface and give it a cleaner finish.
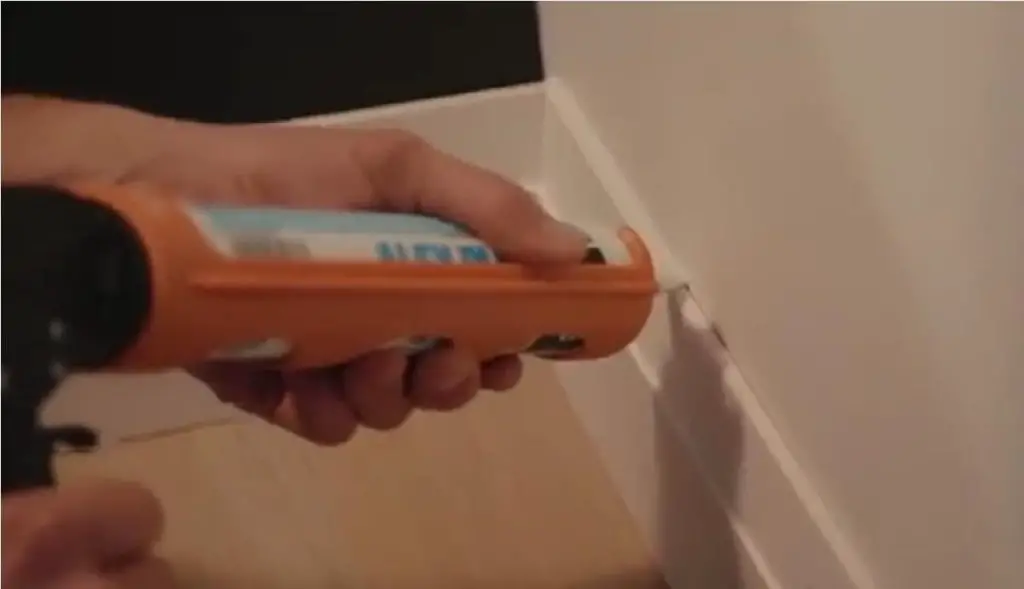
It is recommended to use a dripless gun when applying caulk because it gives you control over the caulk that comes out.
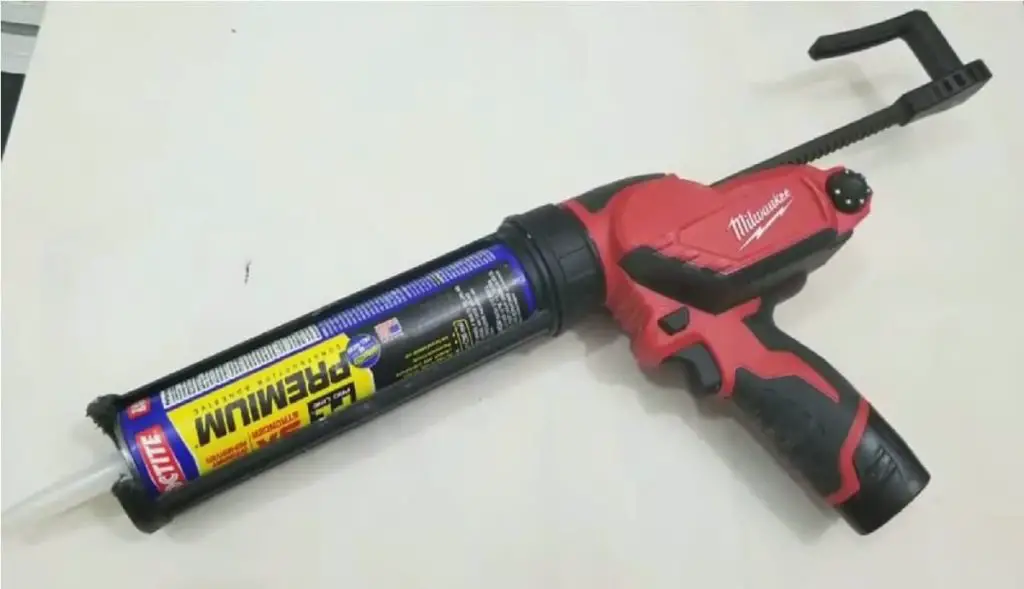
A standard gun produces unnecessary pressure when the trigger is pulled, resulting in too much caulk coming out. A dripless gun works by pushing a small amount of air into the tube when you pull the trigger, and this causes the caulk to come out slowly and at an even rate, giving you more control over your application.
Cut the caulk tube’s tip at a 45-degree angle using a sharp blade. This angle will help create a smooth and even bead of caulking when you apply it to your surface.
Apply the caulk to one surface and then use your finger to smooth it out. Apply pressure evenly across the entire surface to ensure there are no air bubbles or lumps.
Once the caulk is applied, give it time to cure before you move on to the next step or start using the area where the caulk is. The amount of time usually depends on the type of caulking you’re using, but it takes only a few minutes.
How to get a flawless finish
Nobody’s perfect, and there are times when you may end up with a few bumps or ridges in your caulk line. It raises a common question – Can I sand caulk? Or is caulk sand able?
Well, you can sand away the bumps and ridges on caulk lines, but it’s not recommended.
First of all, sanding a caulk can actually damage the surface you’re trying to protect or fix. It’s a better idea just to reapply more caulk over any bumps or ridges and then smooth it out with your finger. This will give you a neater and cleaner finish than if you were to try and sand it down.
Although some types of caulk are advertised as sand able, they don’t sand well at all, and it’s a lot of extra work for not much payoff. It’s always better to err on the side of caution and avoid sanding caulk whenever possible.
Now that you know how essential it is to get your caulk application right, you can apply these tips on your next project for a flawless finish:
Use a wet finger to smooth out the caulk. This will help eliminate any bumps or lumps and give you a smoother finish.
Make sure the surfaces you’re caulking are clean and dry. Dirt and moisture can affect the final bond of the caulk, so make sure to wipe away any grime before applying your caulking.
Apply a generous amount of pressure when you’re smoothing out the surface with your finger. This will help remove air bubbles between the sealant and whatever it’s being applied to. If you have a caulking gun, make sure to keep the pressure even and steady when you’re squeezing the trigger.
Wait for the caulk to dry before using the surface where it was applied. Depending on the type of caulk you’re using, this could take a few minutes to an hour. Caulk will continue to bond and harden over time, so make sure you don’t rush the process, or it could end up looking sloppy if your caulk is still wet.
How do you caulk?
It’s time to try what you have learned. Here are a few projects that you can try:
Repair a cracked tile. You can repair any minor cracks in your bathroom or kitchen tiles, and it only takes about 20 minutes from start to finish!
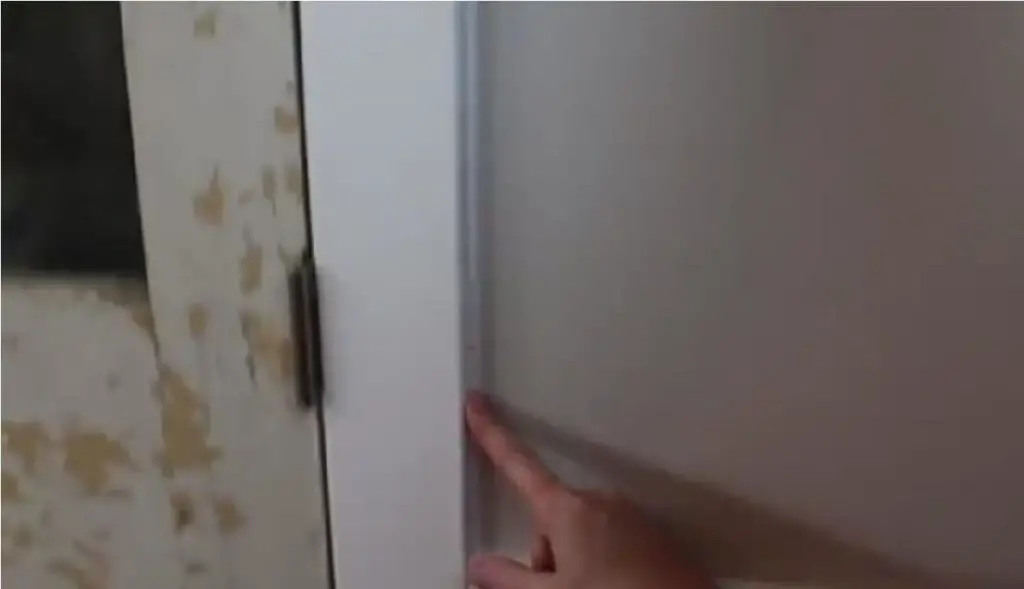
Caulk around a window. You can use this caulk trick to repair or replace old caulking around your bathroom windows, and it’s a great way to add an extra layer of protection against moisture in that area.
Caulk a bathtub. This is a great way to prevent water from seeping behind your tub and causing any damage.
Seal a leaky roof. If you’ve been experiencing any leaks in your roof, caulking is the perfect way to stop them in their tracks. Just be sure to check for any holes or cracks in the surface before applying your sealant.
Caulking is one of those tedious tasks that always seems to come up, whether you’ve just finished a new bathroom or kitchen remodel or the old caulking has finally given way. But don’t let it get away from you! It doesn’t take much time, and with these tips on how to caulk like a professional, your home will look beautiful in no time.